How to Enable Administrator Account on Windows 11
The built-in administrator account on Windows 11 is disabled by default. If you want to enable and use it to troubleshoot your PC, follow this guide.
The administrator account on a Windows PC gives you a safe user environment to perform maintenance tasks on your PC. For example, if you want to allow someone to fix a problem on your PC, you could enable the administrator account on Windows 11. This would allow them to work on your PC without unlocking your user profile.
The administrator account is disabled by default. While it’s similar to other accounts, it doesn’t show the User Account Control (UAC) prompt, ensuring that all apps run with elevated permissions. You can enable the admin account on Windows using PowerShell or Computer Management.
If you want to enable the administrator account on Windows 11 to manage your PC settings or troubleshoot issues, you’ll need to follow these steps.
How to Enable or Disable the Administrator Account on Windows 11 with PowerShell
One of the quickest ways to enable the administrator account on Windows 11 is to use PowerShell. You can also use the newer Windows Terminal or, if you prefer, you can use the older command prompt (cmd) tool instead.
You’ll need to make sure you run these commands from a user account that already has administrator privileges. If you’re using a standard user account, you’ll need to switch to another user account to run this tool.
To enable the administrator account using PowerShell on Windows 11:
- Open the Start menu by clicking the Start button or pressing the Windows key.
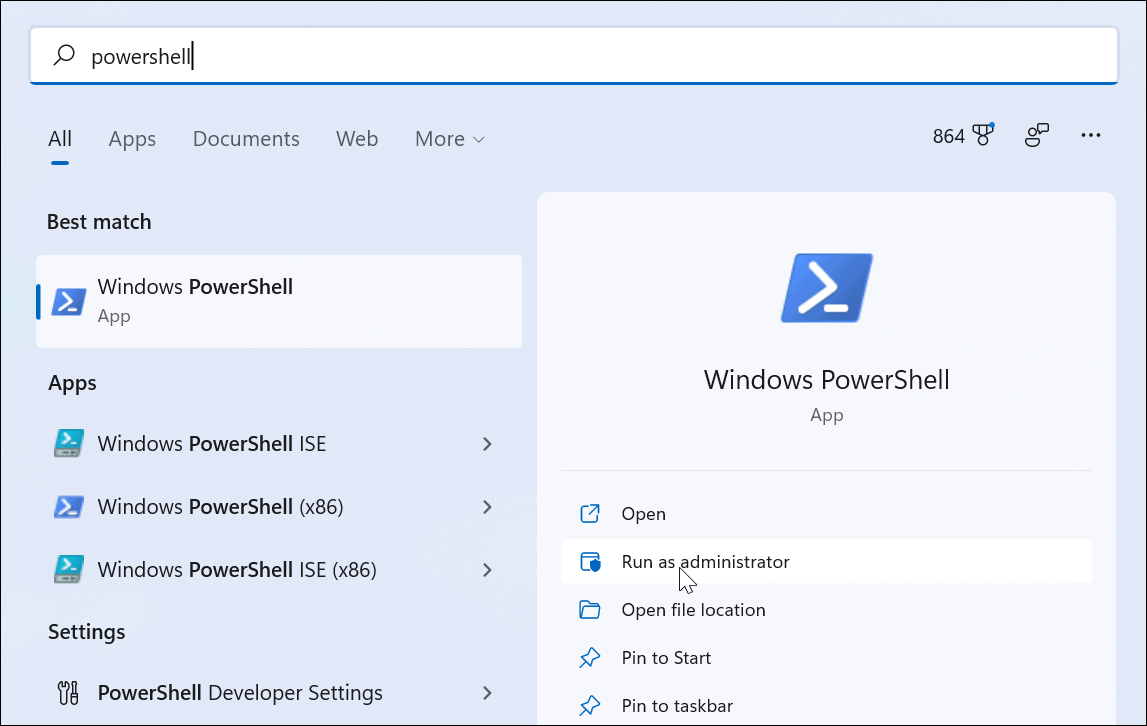
- When the Start menu opens, type powershell, right-click the top result, and select Run as administrator from the menu. Alternatively, hover over the Windows PowerShell result, then select Run as Administrator from the options on the right.
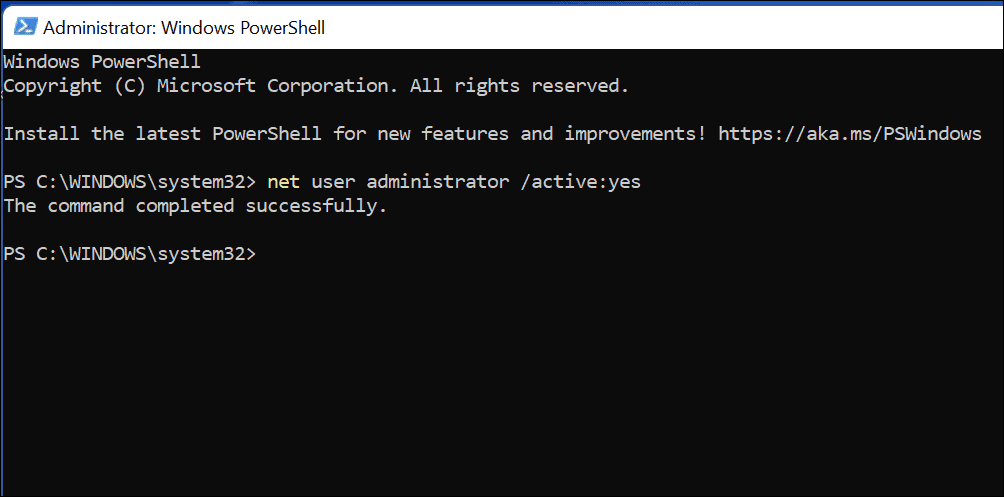
- When PowerShell launches, type the following command and press Enter:
net user administrator /active:yes
Switching to the Administrator Account on Windows 11
Running the net user command will activate the built-in administrator account immediately. The account will become available from the sign-in screen.
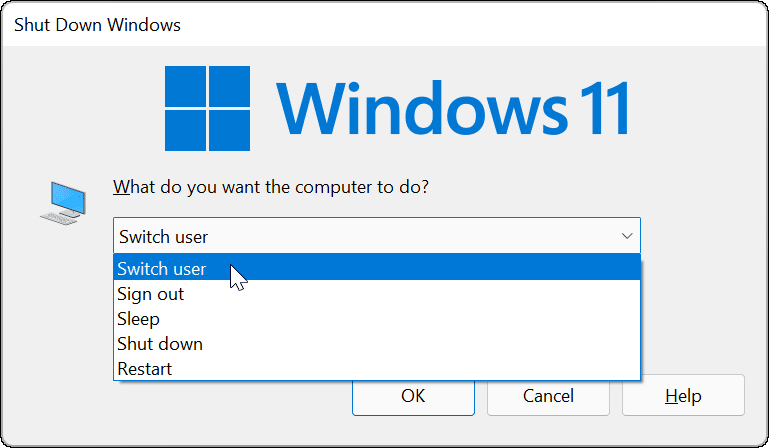
You can double-check this immediately by pressing Alt + F4 on your keyboard, then selecting Switch user from the pop-out shutdown menu.
Disabling the Administrator Account Using PowerShell
We would strongly recommend disabling the default administrator account once you’ve finished it.
To do this using Windows PowerShell:
- Open the Start menu.
- Type powershell, right-click, then select Run as administrator.
- In the PowerShell window, type the following to disable the account:
net user administrator /active:no
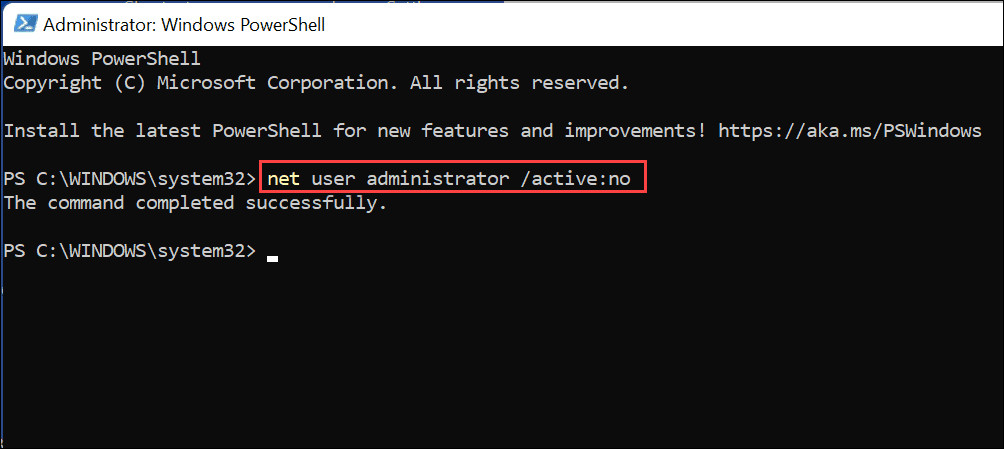
This will immediately disable the built-in administrator account. It will no longer appear on the sign-in screen for you to use.
How to Enable or Disable the Administrator Account on Windows 11 Using Computer Management
The quickest way to enable the administrator account on Windows 11 is to use the net user command via PowerShell or Windows Terminal. If you’d rather use a GUI tool to enable it, however, you can use Computer Management. This is a built-in, somewhat hidden configuration tool that allows you to change various Windows settings.
To enable the administrator account using Computer Management on Windows 11:
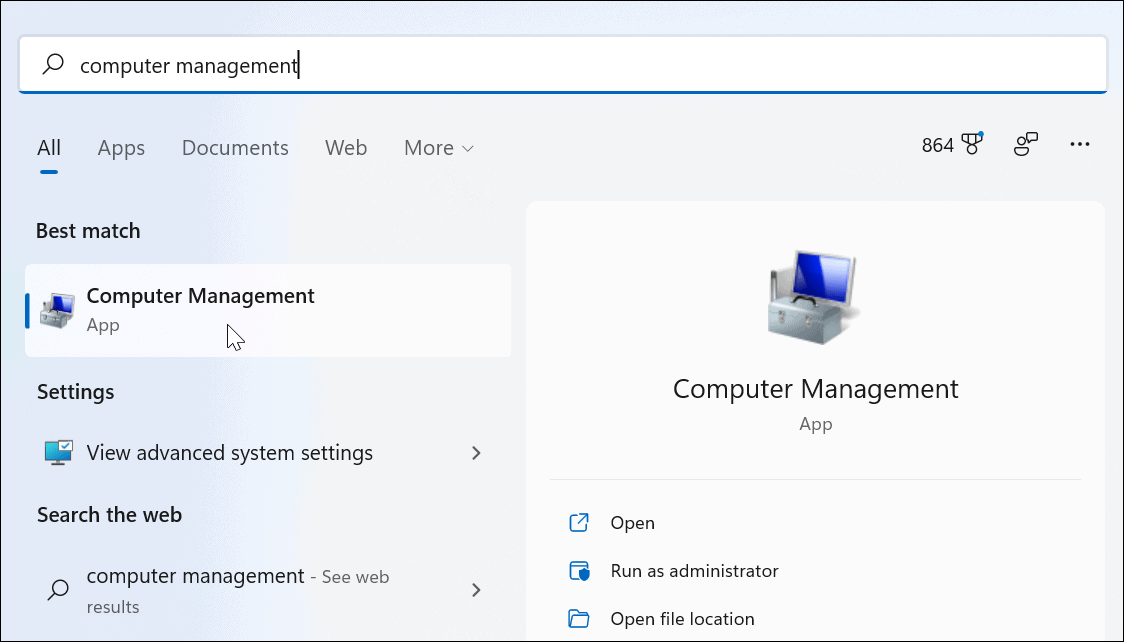
- Press the Start button or the Windows key to open the Start menu.
- Type in computer management and select the top result to open the app.
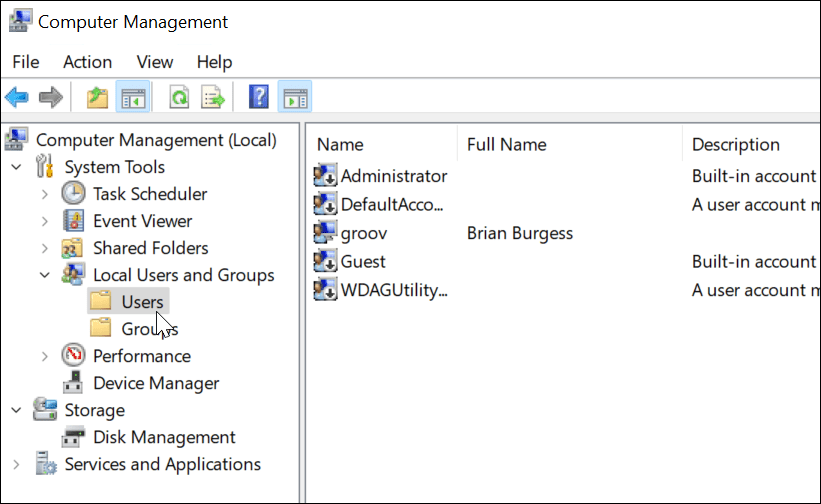
- In Computer Management, expand Local Users and Groups on the left and select the Users folder.
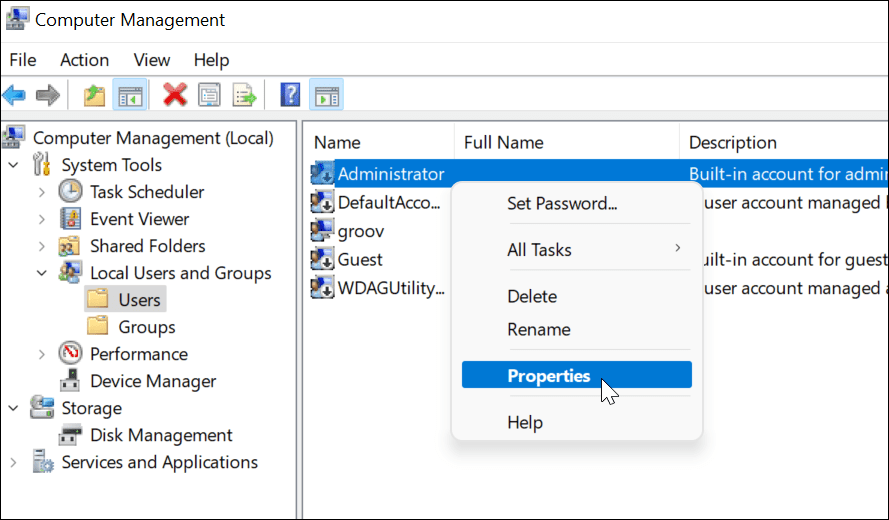
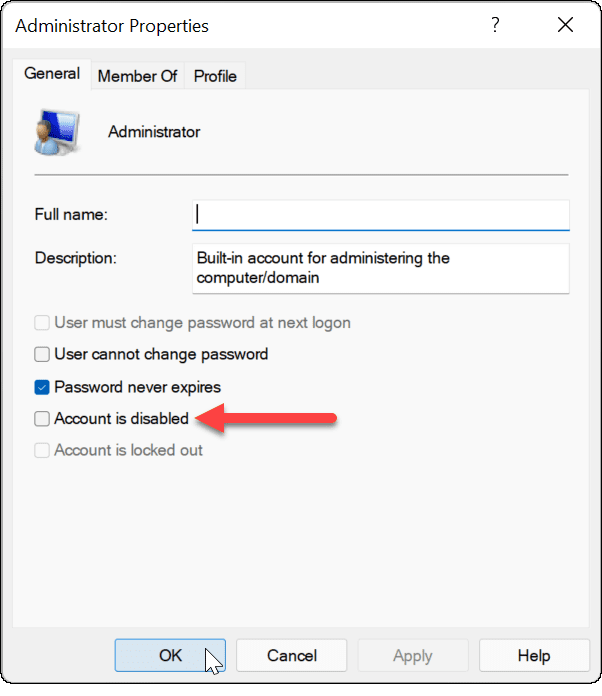
- Right-click on the Administrator account and select the Properties option.
- When the Administrator Properties window comes up, uncheck the Account is disabled option.
- Save your choices by pressing Apply and OK.
If you’ve followed the steps above, the administrator account is active and accessible from the sign-in screen.
Disabling the Administrator Account Using Computer Management
As we recommended above, you should disable the Windows 11 administrator account once you’ve finished using it. You can easily do this by repeating the steps above in Computer Management.
To disable the admin account using Computer Management:
- Open the Start menu.
- Type Computer Management and select it from the search options in the Start menu.
- Open Local Users and Groups > Users on the left.
- Right-click on the Administrator account and select Properties.
- In Properties, select the Account is disabled option and click OK.

After that, the administrator account is off and is no longer accessible.
If you want to make further changes to your Windows 11 user account, you may want to consider changing your account name. If you’re sick of UAC prompts on an admin account, you can disable User Account Control. Failing that, you can always add a local user account to Windows 11 and restrict admin privileges entirely.


Thane
Where can I find this info for Windows 10?