How to Customize Your Roku Interface
Roku devices offer a clean and easy-to-use interface, but you might want to change things up. Here’s how to customize your Roku interface.
You’ll first see the Roku home screen when you launch your Roku device. From there, you can access subsequent menus and channels with various designs and sounds.
By default, the Roku interface is well laid out and easy to use. However, you might want to customize your Roku interface. Perhaps you want a different look for the UI on your TV, or you might need to change things up for practical reasons.
We’ll show you how to customize the home screen and other areas of the UI using the steps below.
How to Customize Your Roku Interface
The theme is one of the first things you’ll see on Roku when you launch it. The theme is purple by default, but the good news is you can change the theme on Roku to suit your needs.
To change the theme on Roku:
- Using your Roku remote (or mobile Roku remote app), navigate to Settings > Theme > Theme packs.

- Chose the theme pack you want to use and select Set theme pack.

- Navigate around Roku’s user interface to determine if your chosen one is right for you.


Note: If you aren’t happy with the theme, go back and choose a different one and try it out. Typically, Roku gives you 40 different themes to choose from, so there are plenty of free ones. If you need more, you can purchase them in the Roku store for a couple of bucks.
How to Move Channels on a Roku Home Screen
Another customization you can make is changing the order of the channels on the home screen. For example, changing the order can make accessing the ones you use most often easier.
To move channels on Roku:
- Select the channel you want to move to highlight it.
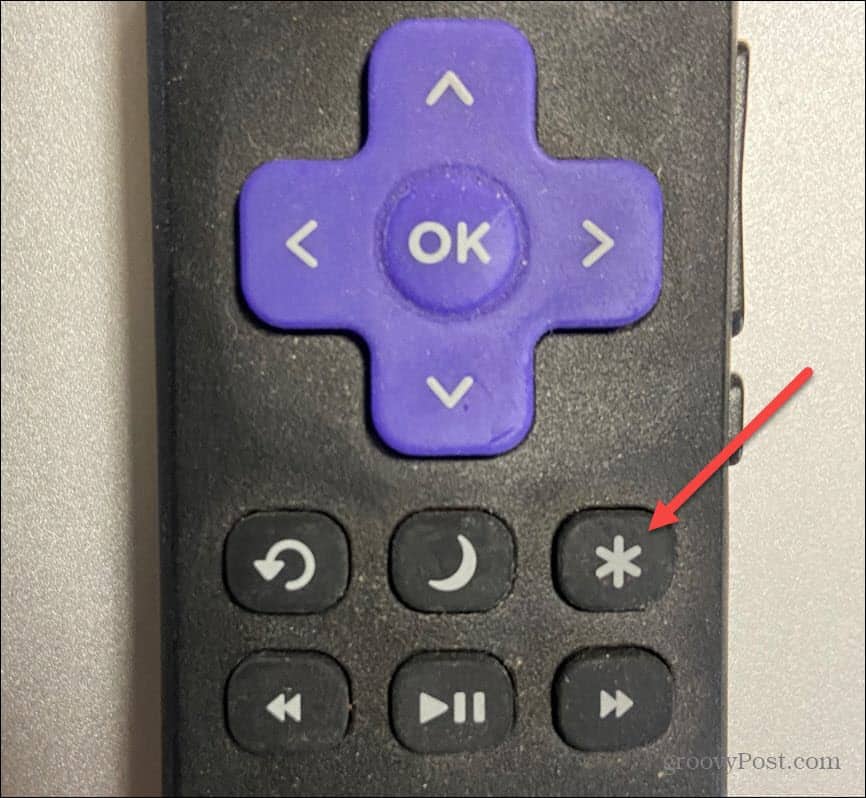
- Hit the Asterisk button on your remote.

- Select the Move channel option when the menu appears.

- Use the Up, Down, Left, and Right arrows on the remote’s D-pad to place the channel where you want it, and press OK on the remote. For example, we’re placing the Disney Plus channel at the top of the channels list.


Customize Your Roku Interface Sound
By default, your Roku plays a simulated click noise as you navigate through the interface. However, you can change the volume of these sounds or turn them off entirely. Changing the menu sound is another thing you can customize when you’re adjusting the volume on your Roku.
To change the interface click sounds on Roku:
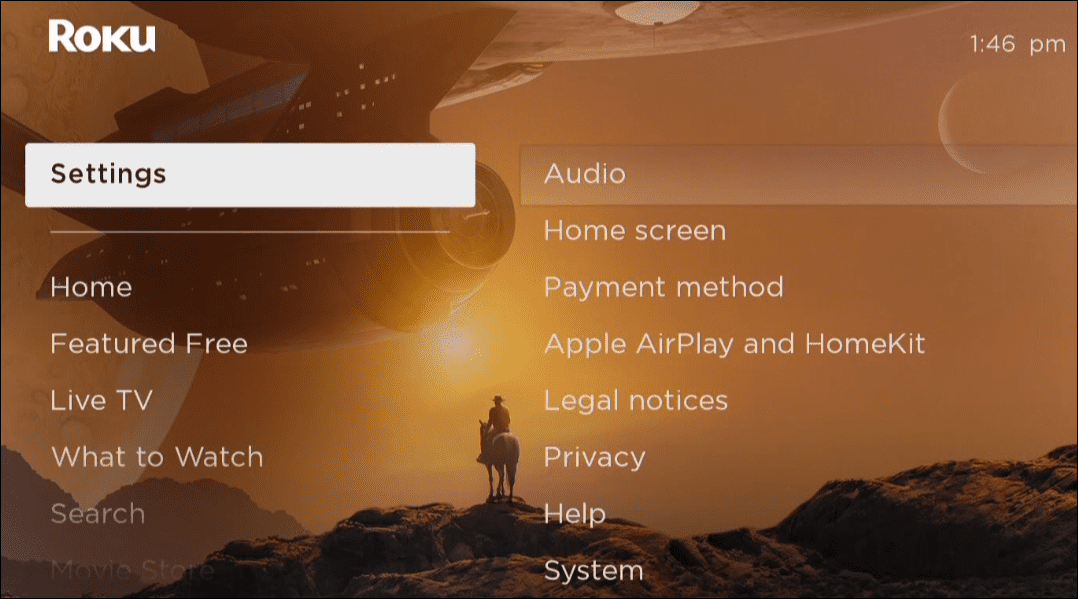
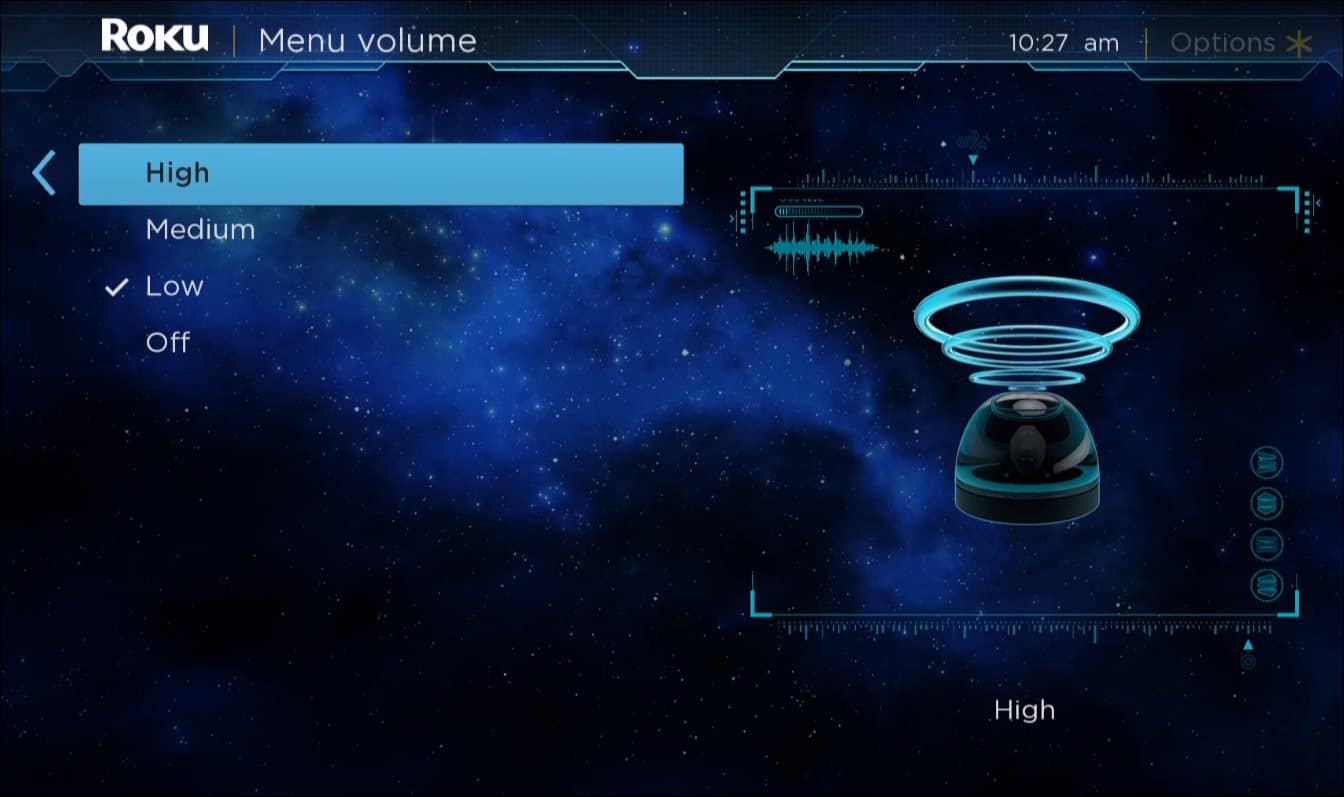
- Press the Home button on your remote and open Settings.

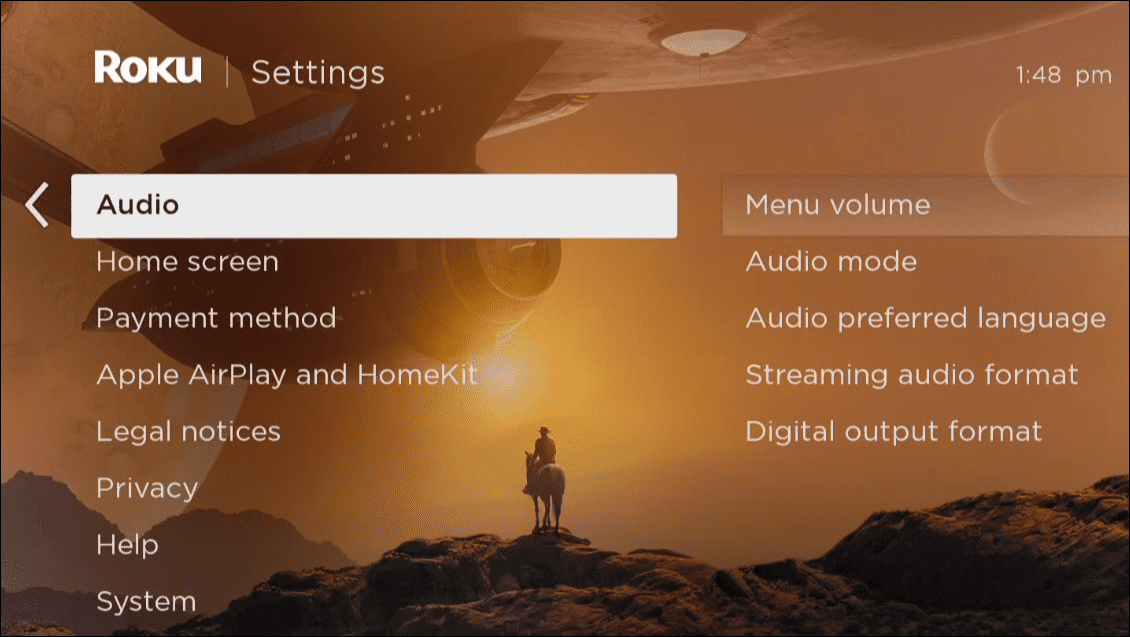
- Navigate to Audio > Menu volume.

- Now, select how loud or quiet you want the clicks of the menu interface to be. For example, you can choose between Low, Medium, or High. You can also turn the sounds off completely by selecting Off instead.

How to Remove Entries on a Roku Home Screen
Another customization you can make to a Roku home screen is to customize the sidebar menu. You can remove items you don’t use, so the sidebar is a less cluttered list.
To remove entries on the Roku home screen:
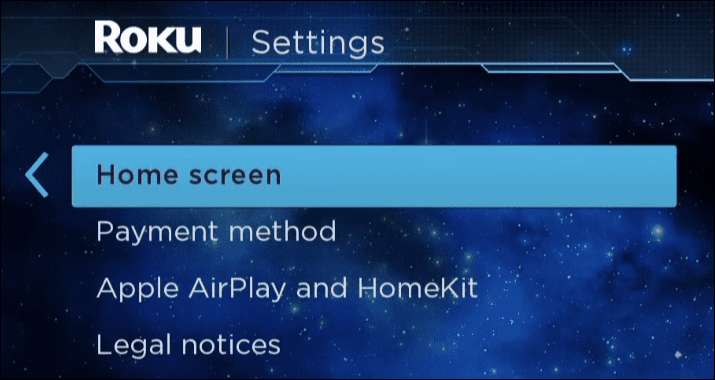
- Press the Home button on your remote and open Settings.

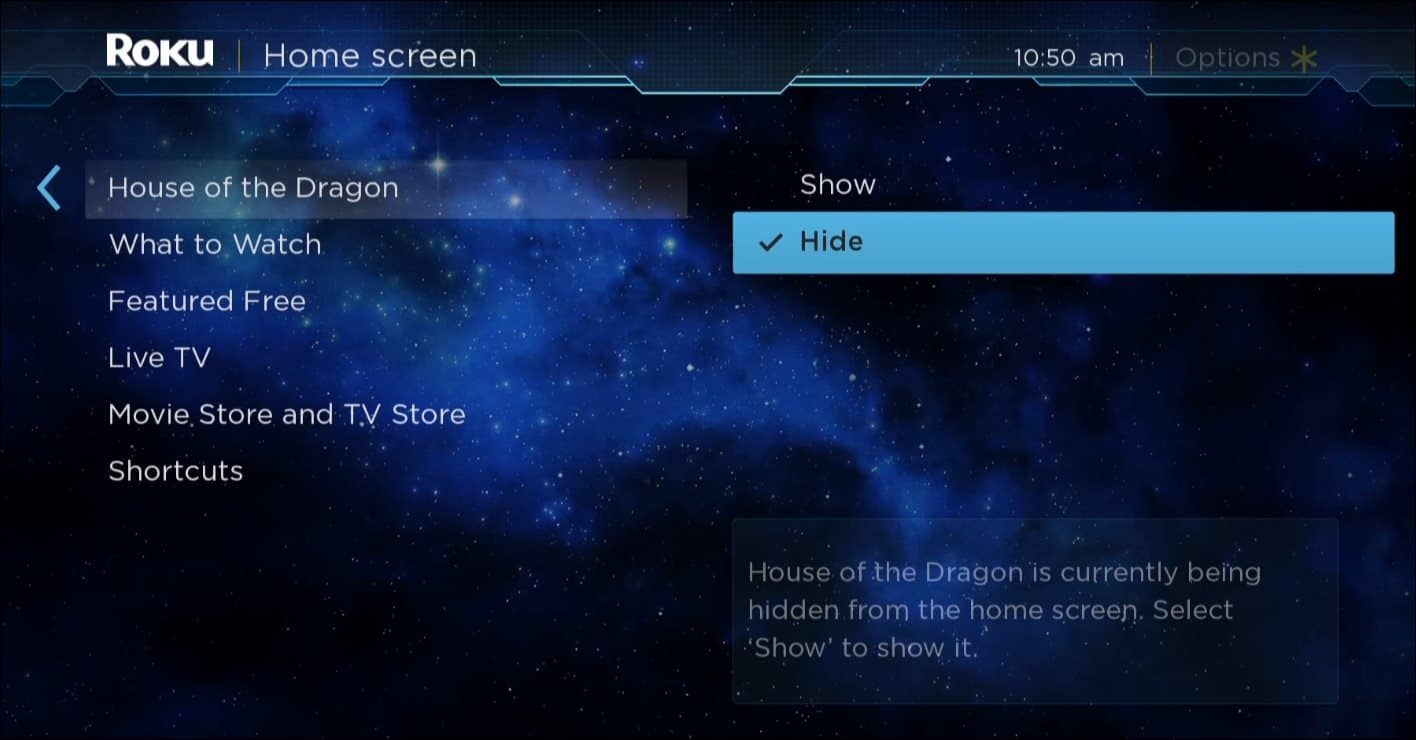
- Scroll down the list and choose the Home screen option.

- Go down the list of items and choose Show or Hide from the menu. Removing the things you rarely use or promotions you’re not interested in can be hidden.


Customizing Your Roku Interface
While there aren’t any major UI overhaul options, the tips above allow for a cleaner and more unique user experience on a Roku device. In addition to direct UI customizations, you may want to check out customizing the Roku screensaver with your own photos.
If you’re new to Roku, you may be interested in learning how to use Private Listening mode or delete a channel from Roku. You can also add free channels to watch on your Roku device.


