What is Memory Integrity on Windows 11

Memory integrity on Windows 11 is a feature that adds an extra layer of data and system protection. Learn how to enable or disable it here.
Memory integrity is part of a virtualization-based security feature that provides an extra layer of system protection against sophisticated attacks. It is available on Windows 10 and 11 and it’s something you can enable or disable.
The memory integrity layer of security is enabled by default on Windows 11. It protects your PC’s critical processes in case of a high-level malware infection. Memory integrity is part of the Core Isolation feature that you can turn on or off via the Windows Security app.
We’ll explain what memory integrity is on Windows, how to enable or disable it, and resolve potential problems you might encounter below.
What is Memory Integrity on Windows 11?
Memory integrity is part of the Core Isolation feature that can prevent attempts to inject and run malware in high-security processes by making kernel memory pages executable only after passing an integrity check. In addition, the feature runs core processes in a virtualized environment for extra security protection.
That’s a technical way to say it helps protect user data from malicious code and hacking threats. It prevents malware from hijacking high-security processes. For example, it uses hardware virtualization capabilities to protect features like secure boot, memory access protection, and more.
The memory integrity core isolation feature should be turned on unless you have a specific reason to disable it, for improved gaming performance, for example.
It’s also important to note that your processor (CPU) must support virtualization, and it needs to be enabled in your BIOS or UEFI firmware. Other hardware features required to use memory integrity include TPM 2.0, secure boot, and Data Execution Prevention (DEP).
Also, most modern PCs support virtualization and other requirements to enable the core isolation and memory integrity feature. And Microsoft is shipping Windows 11 with the memory integrity feature enabled.
How to Enable or Disable Memory Integrity on Windows 11
Turning the memory integrity feature on or off is straightforward from the built-in Windows Security app.
To enable or disable memory integrity on Windows 10 or 11:
- Press the Windows key, type Windows Security, and select the top result under the Best match section.

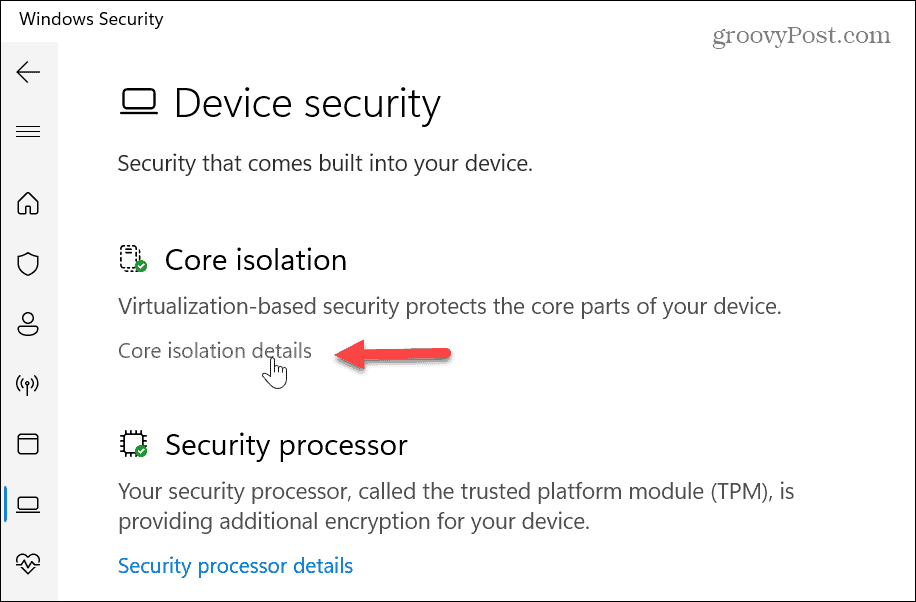
- Select the Device security option from the main Security at a glance screen.

- Click the Core isolation details link under the Core isolation section.

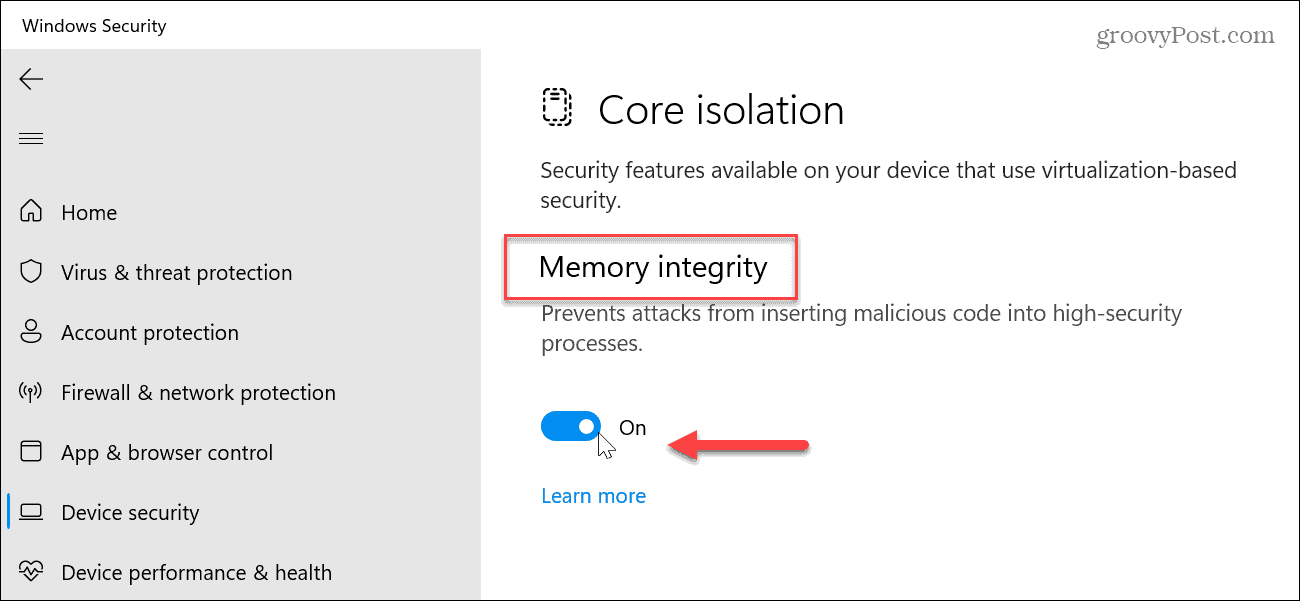
- Enable or disable the Memory integrity feature by toggling its switch on or off.

- If you turn memory integrity off, you will need to restart your Windows system, and a message to restart will appear in the taskbar’s notification area.


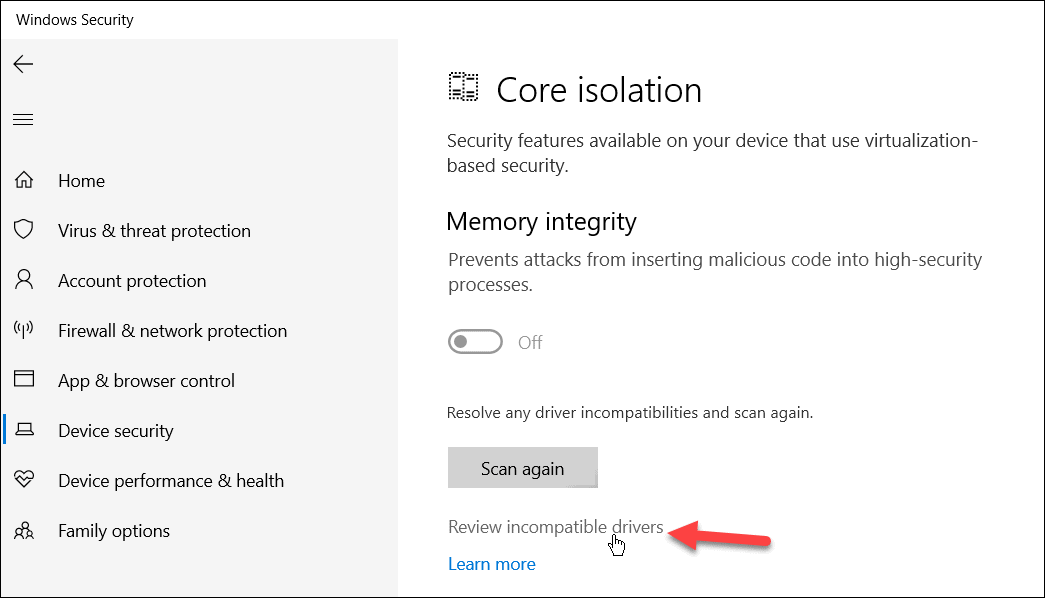
Incompatible Drivers Error with Memory Integrity
Another important thing to point out is you may see a notification about incompatible drivers while trying to enable memory integrity. For example, if you get the notification, click the Review incompatible drivers option and note the device causing the problem.
Once you know the problematic device driver, open Device Manager and make Windows automatically check for drivers or driver updates.

If Windows doesn’t find the specified driver you need, you can install device drivers manually.
Memory Integrity not Working
If drivers aren’t an issue, but the Memory integrity switch is grayed out, some other settings may need to be addressed.
Enable DEP
One fix is to ensure the Data Execution Prevention option is turned on. DEP protects your system by blocking executable code from launching in secure areas of memory.
To ensure DEP is enabled:
- Open the Windows Security app.
- Click App & browser control.

- Scroll down and select the Exploit protection settings option.

- Ensure the Data Execution Prevention (DEP) setting is on.


Windows Update
It is also worth noting that you will need to ensure your version of Windows is up to date. Sometimes a fix for memory integrity not working is a bug, and a fix from Microsoft is a few clicks away. To check, open Start > Settings > Windows Update and click the Check for updates button to download and install any new updates.

Fix Corrupt System Files
Another problem could be with corrupt or missing system files. To check for system file errors and fix them, you can run an SFC and DISM scan.
To run SFC and DISM scans:
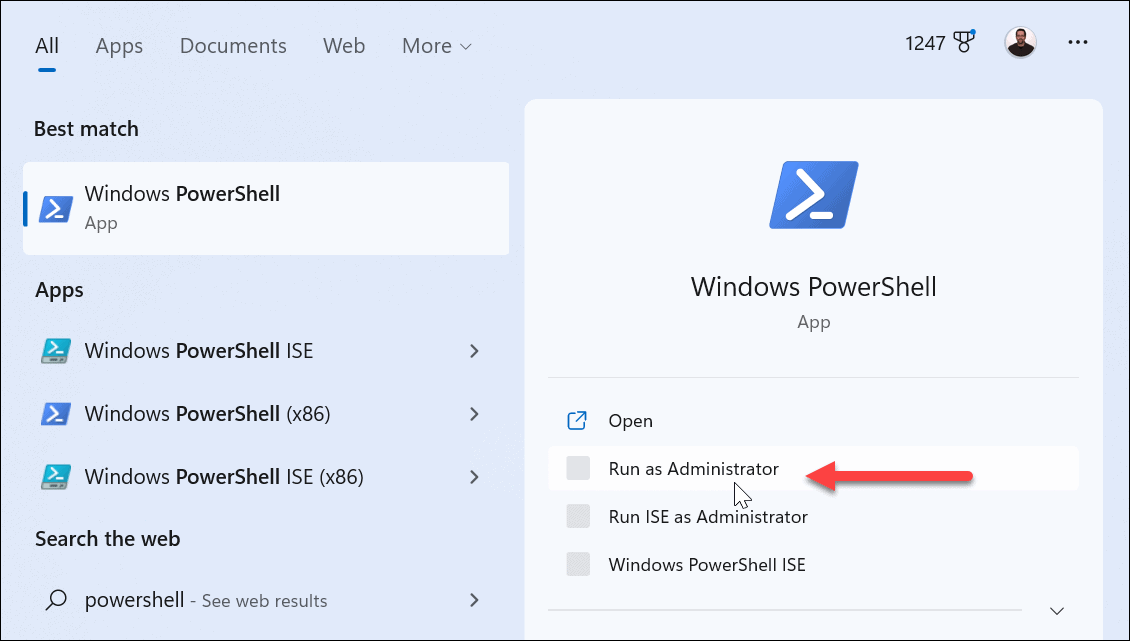
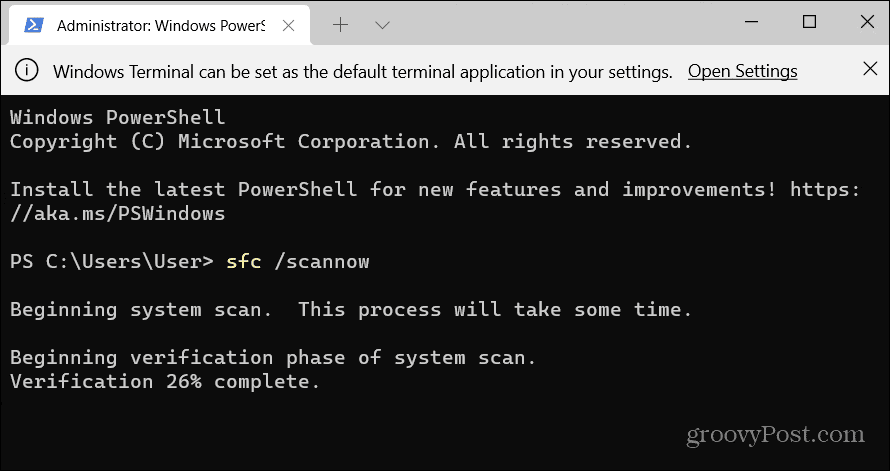
- Open PowerShell as Administrator.

- Type in the following code and hit Enter:
sfc /scannow
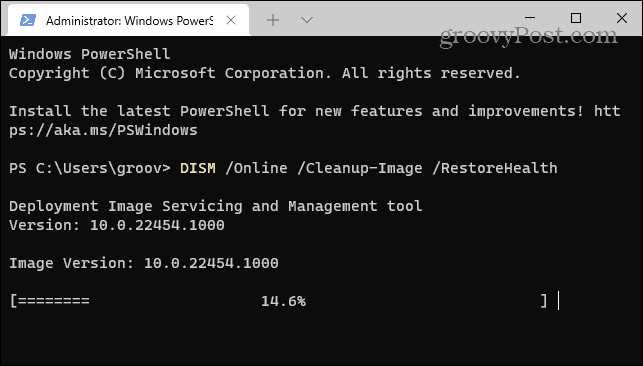
- Next, with PowerShell still open as Administrator, run the following command:
DISM /Online /Cleanup-Image /RestoreHealth
When the scans are complete, reboot your PC, and you should be able to enable or disable the memory integrity feature.
Keeping Windows Secure
Keeping the memory integrity feature enabled is essential to ensure your Windows computer is secure. If you get hit by a sophisticated malware attack, it will help protect your data. It also helps protect your data stored in the system memory from unauthorized access.
Memory integrity improves data and system security. However, it can decrease device performance. For example, if you are getting mediocre gaming performance, disabling the feature can help optimize gaming on Windows 11. Just turn it back on after your gaming session.
There are more ways to keep your data protected on Windows and online. For example, you might want to disable telemetry data collection on Windows 11 or learn to turn Windows Security on or off. Also, ensure you enable Two Factor Authentication for all your online accounts.


