How to Create a Full System Backup of Your Windows 11 PC

If you want to keep your files and settings backed up in Windows 11, you can create a new system image using the Backup and Restore tool. Here’s how.
It’s always a good idea to back up your essential files. Creating a full system backup is the next step, protecting your Windows 11 installation and files and giving you peace of mind that your data is safe.
A system backup protects against potential hardware failures, malware attacks, upgrade problems, and more. It also protects your system configuration from loss. It’s important to sync your files via cloud services like OneDrive. You can also use a “set it and forget it” third-party backup option like Backblaze or use the Backup and Restore feature in Windows 11.
Originally made available in Windows 7, Backup and Restore use the “shadow copy” feature in Windows to create a system image that provides an identical copy of the install, apps, settings, and files. This also applies to apps you’re using during the backup process.
Here’s how to create a full system backup of your Windows 11 PC using the Backup and Restore feature.
Create a Full System Backup of Windows 11
Backup and Restore is an older Windows 11 feature, but it remains a good (and easy) way to backup your system drive. You can create a full image of your system drive and back it up to a large external drive or a network location (even DVDs, although this probably isn’t recommended). In this example, we’re using an external drive.
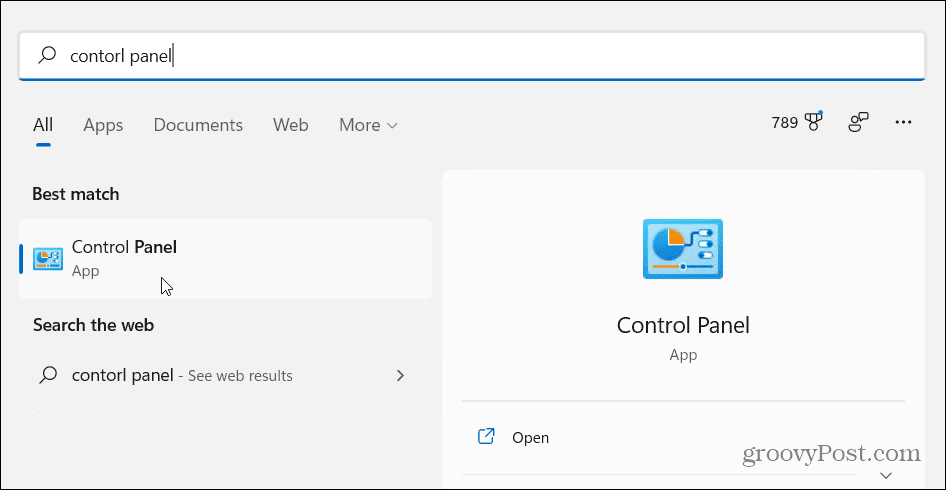
To start, open the Start menu or press the Windows key and type control panel. Press the first, best match result at the top.
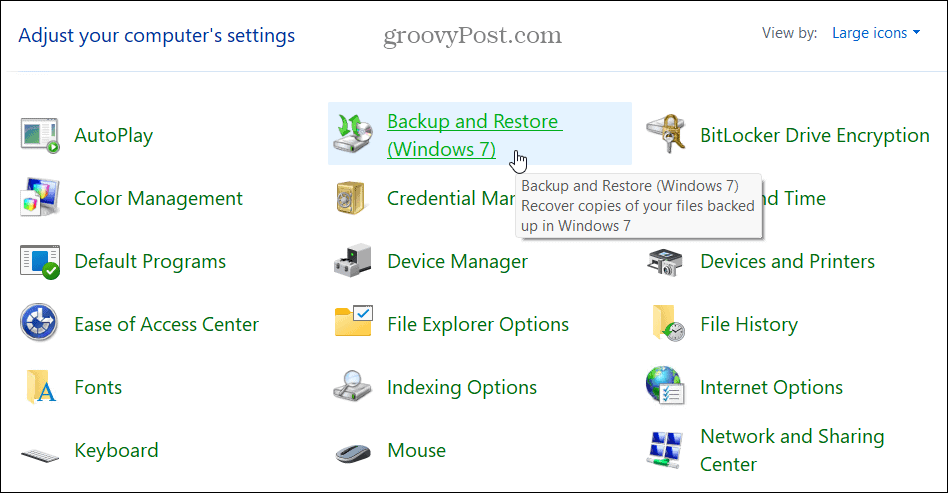
When Control Panel opens, click on Backup and Restore (Windows 7).
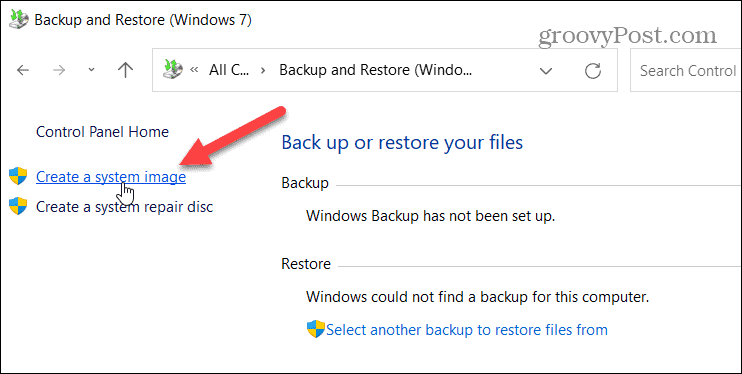
In the Backup and Restore (Windows 7) menu, click the “Create a system image” link option on the left.
You can also access this menu by typing file history in the Start menu and selecting the best match result at the top.
When the File History menu opens, click the “System Image Backup” link in the lower-left corner.

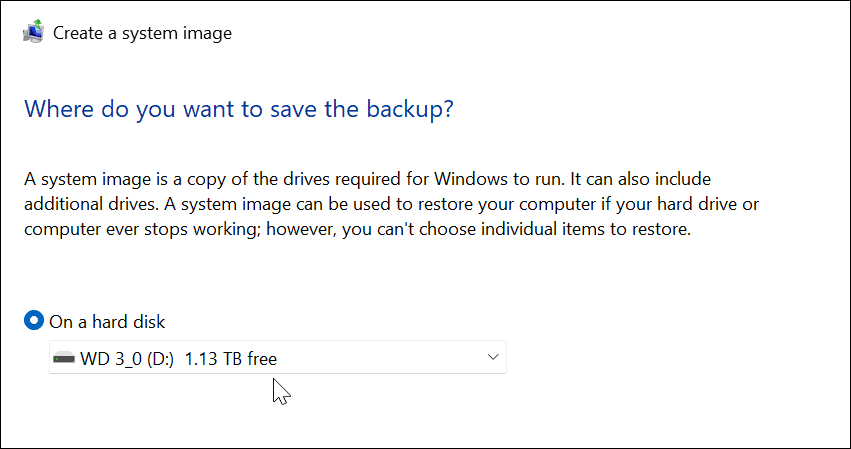
Next, Windows will scan your PC for available drives. Click the “On a hard disk” option.
Note: If you see a format error like the one below, reformat the drive with the NTFS file system.

In the Backup and Restore utility, select your drive from the dropdown and press Refresh.

Your drive should be recognized at this point. If the drive you try doesn’t have enough space, the backup utility will let you know. If everything is good to go, click Next.
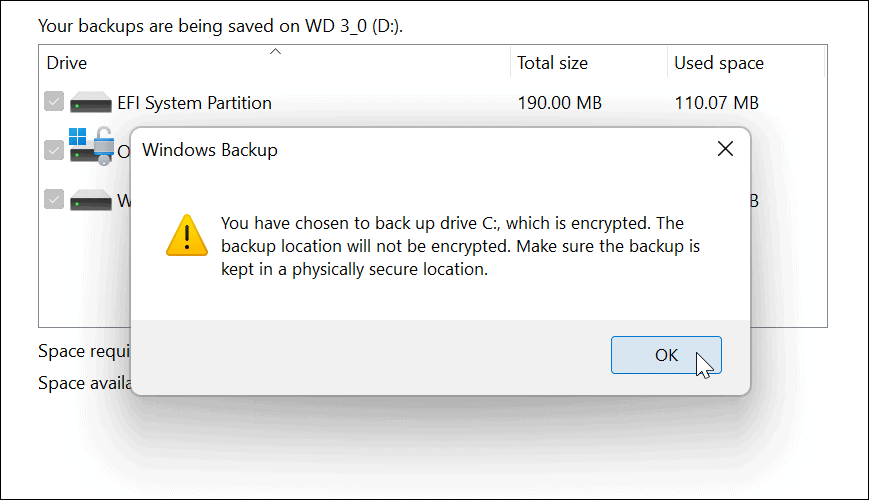
Depending on your system’s settings, you might get a message that your drive is encrypted, but the backup location isn’t. It’ll remind you to keep the backup in a secure location. Click OK to proceed.
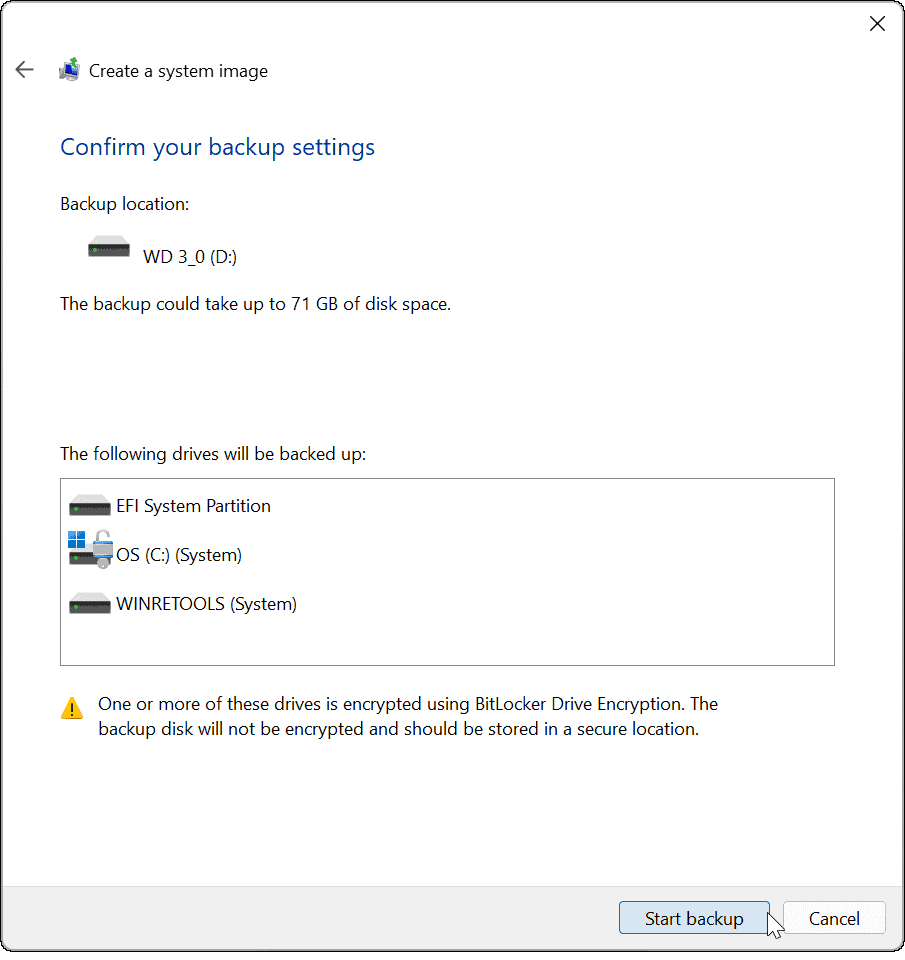
Next, confirm your backup settings and click the Start backup button.
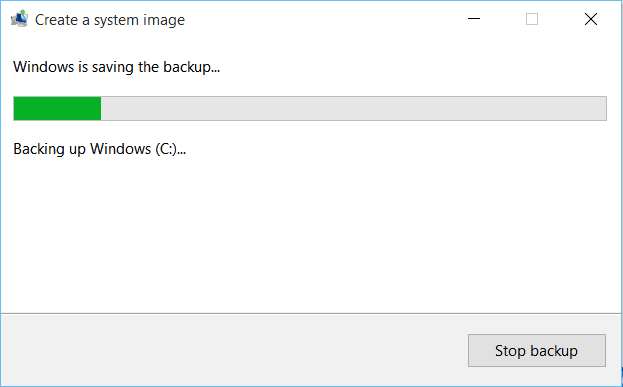
The backup will begin, and you’ll see a progress bar while it completes. The amount of time it takes will vary, depending on the amount of data you’re backing up and your hardware.
Your system image is ready as soon as the process to create it is complete.
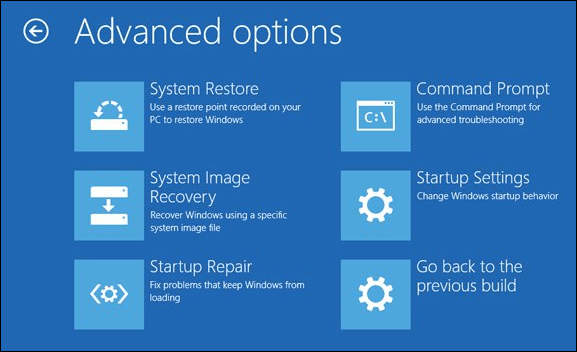
When it completes, you’ll get a message asking if you want to create a system repair disc. You can skip this if you have a USB Recovery Drive, which allows you to boot into an advanced recovery environment to restore your PC.
You can also use a bootable Windows 11 USB drive to recover the PC.
Using a Windows 11 System Backup Image
Once you’ve created a complete backup system image in Windows 11, make sure you know how to create a new restore point.
If you’re still using a Windows 10 system, but it doesn’t meet Windows 11’s minimum system requirements, you can get around the problem by installing Windows 11 on unsupported hardware.


Jamies
I thought MS had stated that the system backup facility was to be removed soon
And does the facility allow the user to select when to redo the image, or does the OS maintain the image with the changes to the backed-up PARTITIONS
ice
Pretty good tips in the restarting worked for me.