How to Create and Publish Your WordPress Favicon

If you want to portray a professional image with your WordPress website, then you really need to create an publish a WordPress favicon.
If you visit most websites on the internet and look at the small image on the left side of the browser tab, that image is known as the site’s favicon.
Most professional websites feature one of these images in the browser tab where the site is displayed. If it doesn’t, then you’ll just see a plain document icon. This is a sign of an unprofessional website or one created by someone who knows very little about designing websites.
If you want to portray a professional image with your WordPress website, then you really need to create and publish a WordPress favicon. We’ll show you how.
What Is a WordPress Favicon?
Take a look at the browser tab you currently have open. You should see the Groovypost favicon displayed at the upper left corner of the tab.

It isn’t particularly complicated to install a favicon, but designing one might take a little thought.
The following are a few things you should keep in mind when deciding what image to use as your site’s favicon image.
- Aim to create an image with dimensions of 512×512 pixels
- Make the image simple enough that it displays well even at 16×16 pixels
- Your favicon should represent your brand in a straightforward way
- Avoid copying well-recognized favicons like Gmail or Google Drive as this would confuse users
- A favicon image must be saved in Windows Icon (ICO) format
- Transparent images will work but aren’t required
Why save the image in 512×512 pixels? Depending on the device the user is browsing the web with, the image could display in dimensions as small as 16×16 pixels and as large as 310×310 pixels. Saving as 512×512 pixels covers all resolutions, regardless of how the image gets scaled by the user’s browser.
How to Create Your WordPress Favicon
The hardest part of setting up your WordPress favicon will be creating it. If you’re gifted in creating digital graphics, then go ahead and fire up Adobe Photoshop or Gimp and create your site icon from scratch. However, if you aren’t very good at designing your own graphics, there are plenty of other options.
You can use any free online favicon generator websites to quickly create a favicon that’ll work fine for your site.
- Favicon.io: Create favicon icons starting with text, your own image, or pick from an emoji. If you start with the text, you can customize font style and color and background color.
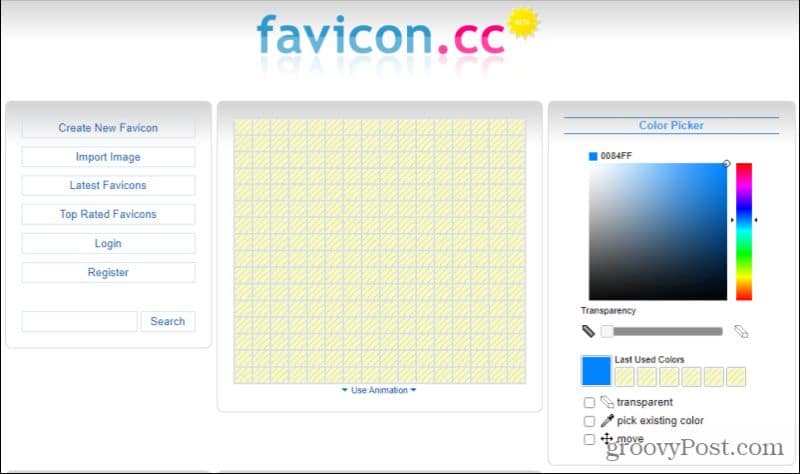
- Favicon.cc: Draw a quick icon just using your mouse in a drawing area. If you have a touch screen, you could draw the icon using your finger or a stylus.
- Ionos.ca: Start with initials, upload an image, or draw out your favicon icon. This site includes a preview before you download it.
- Website Planet: Start with an image or choose from a gallery of premade favicons that you can customize.
Many of these sites will also take an image you’ve created in PNG, JPEG, or GIF format and convert it into ICO format for you.
Once you’ve created your ICO image and have it saved on your computer somewhere, you’re ready to install it on your WordPress website.
Installing Your WordPress Favicon
You have your favicon stored on your computer in ICO format. So how do you install it on your WordPress site? You have a few options.
1. Use the WordPress Customize Feature
If you’re using a version of WordPress that’s newer than WordPress 4.3 (as you should be), WordPress provides a built-in option to upload your favicon as a “site icon.”
To do this, log into your WordPress Admin dashboard and select Appearance from the left menu. Next, select Customize.

This will open the new WordPress visual customization tool. Select Site Identity from the left menu.

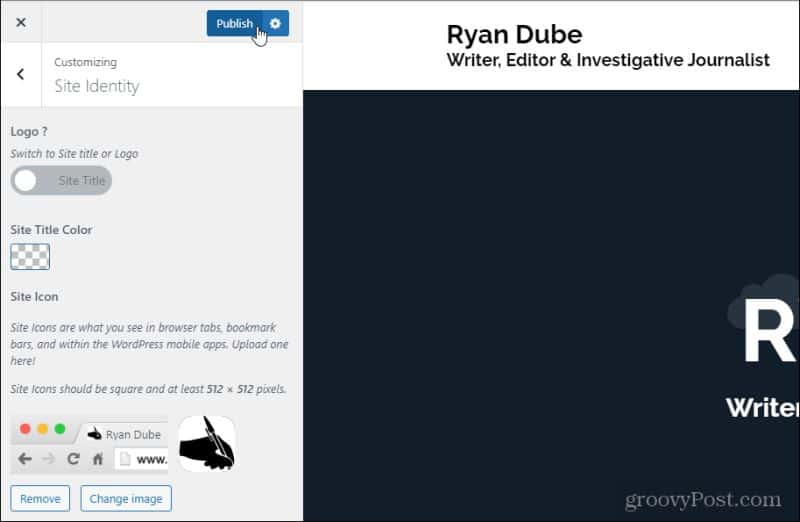
This will open a dropdown area where you can customize your site logo, title, and other features. Toward the lower half, you’ll see the Site Icon section.
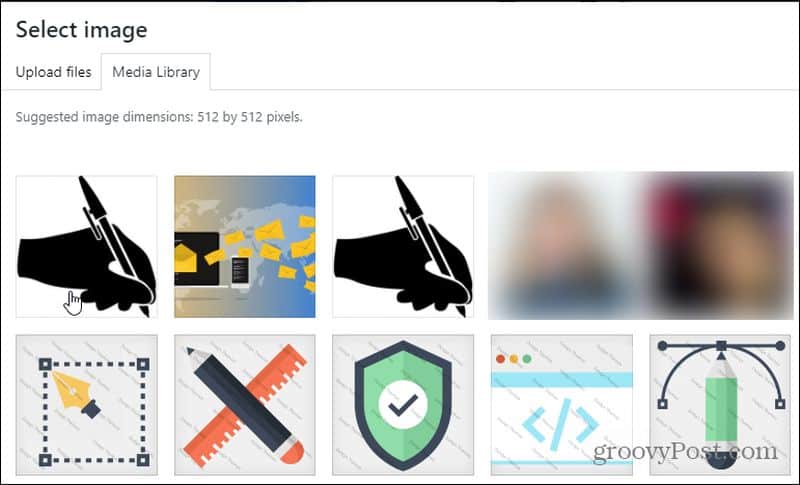
To upload your favicon file, choose the Select site icon.
![]()
This will open the Select image tool in WordPress. If you’ve already uploaded your favicon file to your WordPress images library, you can select it from the Media Library tab.
If you haven’t uploaded it yet, select the Upload files tab, browse to and select your favicon file on your computer, and then upload it. Select it once it’s uploaded.
Once you’ve selected your favicon file, you’ll see a small preview of it in the Site Icon section. This area also shows you a small preview of what the browser tab will look like with that image.
If you like what you see, select the Publish button at the top of the page.
Your favicon image is now live and will start to appear in any browser tab when people visit your site.
2. Upload the Favicon Manually
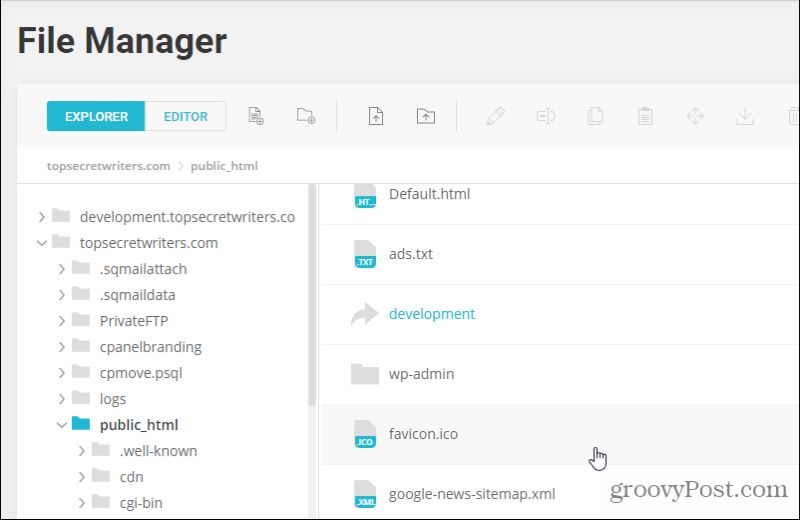
If you’re not using the latest version of WordPress, or even if you’re using some other CMS, a widespread and easy solution is to upload the ICO favicon file to your website’s root directory.
In WordPress installs on most web hosts, this is usually the public_html directory inside your website’s web folder. Make sure to name the file favicon.ico and use your favorite FTP client or whatever file manager your web host has provided to upload the file to that folder.
Close your browser or do a Ctrl-F5 browser refresh to reload your website. Once you do, you should see that the browser tab with your site now displays your new favicon image.
This works most of the time because if your theme or site doesn’t specify a favicon link, WordPress defaults to the root folder. Other CMS systems other than WordPress typically default to the same favicon location.
If this doesn’t work, there could be several reasons.
- Your theme specifies a favicon link at another location.
- You’ve saved the file with the wrong extension or name.
- You may not have waited long enough for WordPress to pick up the new favicon image.
If your theme does specify a favicon link, it should also provide a configuration page (similar to the WordPress example above) where you can upload your favicon. If it doesn’t, there is a way you can code this link yourself inside your current theme.
3. Insert a Favicon Link
First, upload the favicon file to your website’s root directory using the procedure in the last section.
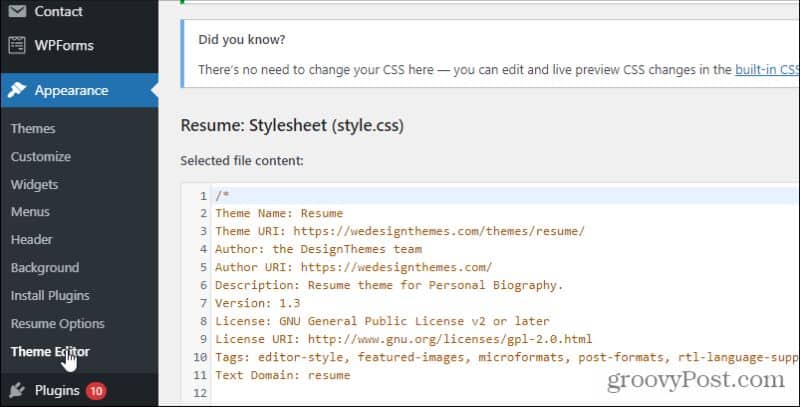
Log into your WordPress Admin dashboard and select Appearance from the left menu. Next, select Theme Editor.
Select the header.php file from the right navigation pane where the pages are listed. Insert the following two lines into the file in the header section.
<link rel=”icon” href=”https://www.yoursite.com/favicon.png” type=”image/x-icon” />
<link rel=”shortcut icon” href=”https://www.yoursite.com/favicon.png” type=”image/x-icon” />
Replace “your site” with the name of your own website.

Select Update File to save the changes. Now, once you reload your page, you should see that your theme picked up the favicon you’ve uploaded, and the browser tab displays your icon image.


